

Lay-flat binding is a bookbinding method that lets a book open to nearly 180 degrees, so a two-page spread sits flat with no dip or curve at the center. That means a panoramic photo or a full-bleed diagram prints seamlessly across the gutter, and the finished book stays open on a table without anyone holding the pages down.
It's the right call for photobooks, cookbooks, manuals, and portfolios where a broken image or a spine that snaps shut ruins the experience. It's the wrong call for a paperback novel or a budget notebook, where the extra cost buys you nothing.
- Best for: photo-heavy books, cookbooks, technical manuals, premium journals
- Tradeoffs: higher unit cost, usually needs heavier stock, and requires layout caution near the spine
- Skip it for: thin, text-only, or budget-driven print runs
Key Takeaways
Lay-flat binding earns its higher price on image-heavy books by eliminating gutter loss, but it only pays off when you verify the method and check a physical sample before committing.
| Point | Details |
|---|---|
| Match method to project | Sewn layflat suits archival and heavy-use books; PUR layflat suits most commercial photobooks. |
| Design around the hinge | Keep critical text off the spine centerline since it's a real physical break, not just a visual one. |
| Confirm spine width first | Very narrow spines and small-format books need minimum widths checked with the printer in advance. |
| Verify with a physical sample | A trimmed sample proves true lay-flat behavior; digital mockups can't confirm zero image loss. |
| Budget for extra time and cost | Milling, PUR curing, and hand finishing add expense and lead time compared with perfect binding. |
Table of Contents
- Types of Lay-Flat Binding You'll Run Into
- Which Projects Actually Benefit From Lay-Flat Binding?
- What Determines Cost, Durability, and Feasibility?
- How Do You Specify an Order and Vet a Printer?
- Mark's Pre-Press Checklist for Proofing Lay-Flat Files
- The Real Tradeoff Nobody Says Out Loud
- Sources
Types of Lay-Flat Binding You'll Run Into
Not every "lay-flat" listing means the same construction, and the differences show up the moment you open the book. Here's what's actually happening inside each method.
- Smyth/section-sewn layflat. Signatures get thread-sewn together, then attached with a flexible technique that lets the spine float slightly. This is the most durable option and the one most printers recommend for archival projects or books that will get opened hundreds of times. It also has practical limits: very small-format books may not have enough spine width to attach headbands and boards properly, so confirm minimums before you finalize a small trim size.
- PUR layflat with spine notching. The spine gets milled, notched, and glued using a two-step adhesive process, often PUR followed by an EVA side-glue for fast initial tack while PUR cures into long-term flexibility. This is the workhorse method behind most commercial photobooks.
- Seamless or flush-mount binding. Printed spreads get mounted directly onto rigid boards, which is common for wedding albums and large-format panoramas where you want zero visible break at all.
- Hinged block construction. A gap, sometimes called a krash strip, gets built into the spine so the block can open flat without the cover pulling against it.
- Coil, Wire-O, and saddle-stitch. These are stay-flat alternatives rather than true lay-flat. They open flat because the mechanism physically allows it, not because of adhesive engineering, but the exposed spine reads as more casual or workbook-style.
Pro Tip: If a vendor says "layflat-style" instead of "true lay-flat," ask directly whether the spread still shows a visible gutter or slight curve. Some do, and the difference only becomes obvious once you're holding the printed book.
Which Projects Actually Benefit From Lay-Flat Binding?
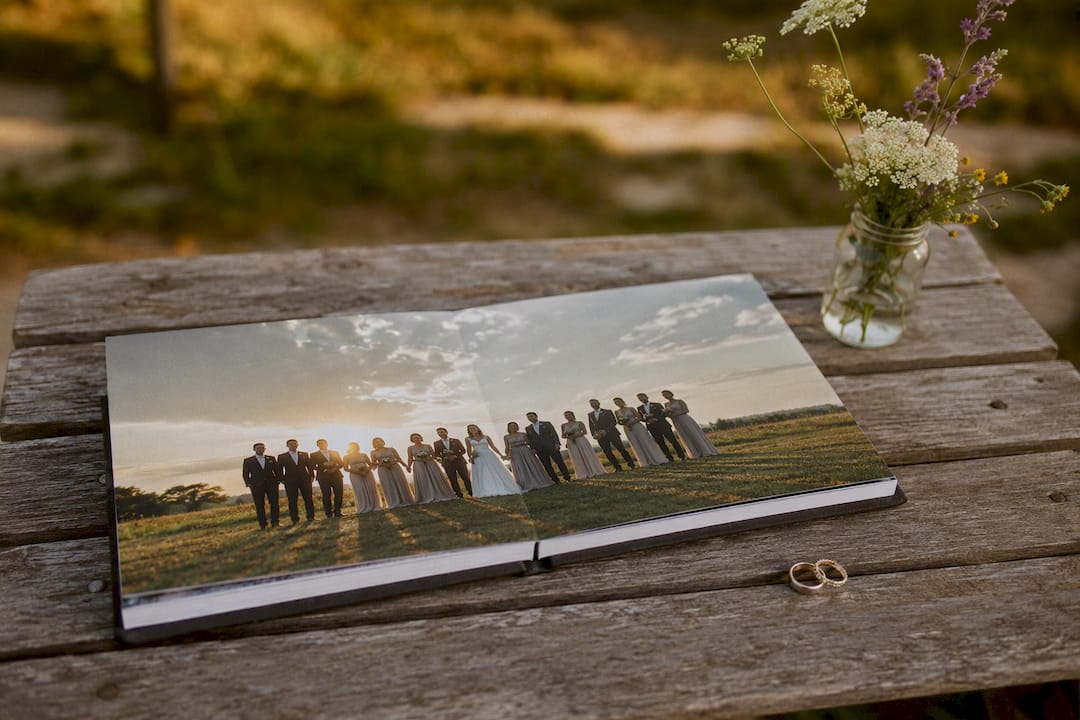
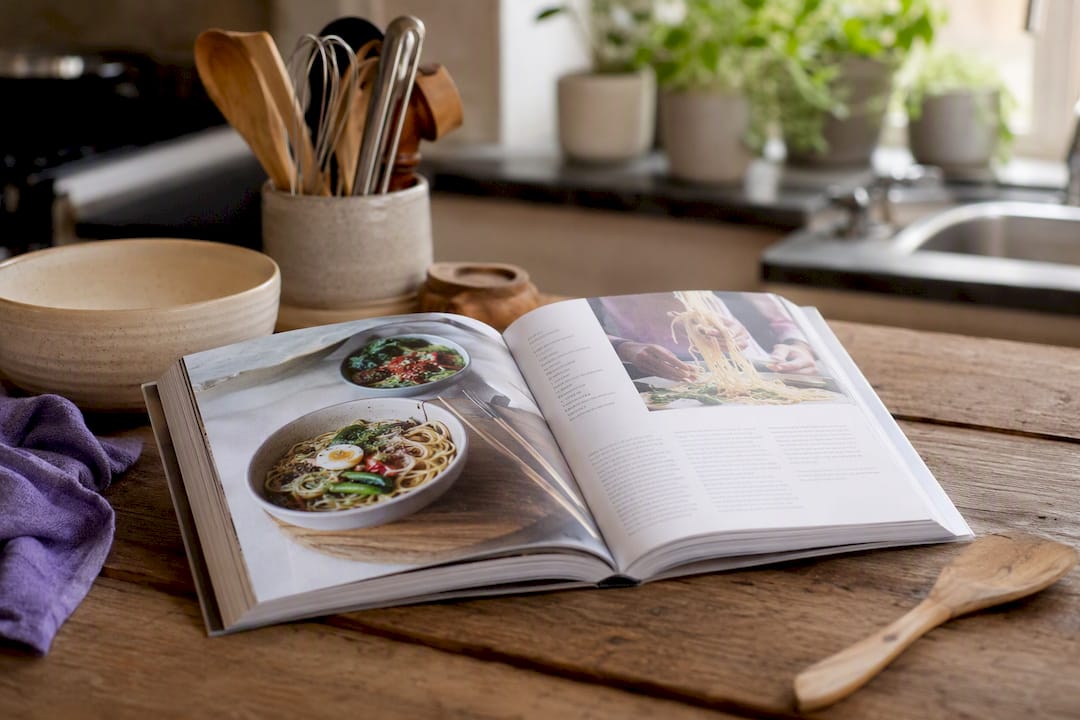
Wedding albums, travel books, and landscape photography are the clearest case: a mountain range or a bridal party shot loses its impact the moment a gutter chops it in half, and lay-flat construction is commonly recommended for exactly this reason. Cookbooks and lookbooks benefit almost as much, since recipes and product spreads frequently run across both pages.
Manuals and desk references gain something different: hands-free use. A technician or a chef doesn't want to hold a book open while working, and lay-flat binding reduces spine cracking under frequent handling compared with a standard perfect-bound book.
Where it's overkill: thin booklets, text-only novels, and anything printed on a tight budget. If there's no image crossing the gutter and the book won't get opened flat on a table, you're paying for a feature nobody will notice.
What Determines Cost, Durability, and Feasibility?
The physical build behind lay-flat binding drives almost every decision you'll make as a designer, from paper weight to final price.
Paper and finish. Heavier coated or silk stocks resist curl and hold the flat profile better than lightweight uncoated sheets; for more guidance, see paper and surface finish guidance. Thin paper tends to wave at the spine even with a good binding method underneath it.
The glue and gap. The spine gets milled and notched, then a PUR adhesive provides long-term flexibility while an EVA layer gives a quicker initial bond. A krash strip or gap creates the physical space that lets the block open without fighting the cover.
Page count and spine width. Feasibility has real limits. Very narrow spines don't gain much from lay-flat construction since there's not enough width for the mechanism to matter, and sewn layflat in particular needs a minimum spine width to attach boards and headbands correctly.
Layout near the hinge. The gutter becomes a physical break in the paper, not just a visual one. Placing critical small text directly over the hinge makes it hard to read, so keep body copy and fine print off that centerline and let imagery span the spread instead, shifting anything essential slightly off-center.
Cost and lead time. Lay-flat binding typically costs more than perfect binding because of the extra milling, glue curing, and hand-finishing steps involved, and some high-volume photobook vendors now include genuine lay-flat as standard, which narrows the premium compared with a specialty print shop doing hand-finished work.
- Use heavier coated or silk stock to reduce curl
- Confirm minimum spine width before finalizing trim size
- Keep critical text off the hinge centerline
- Budget extra time for adhesive curing and hand finishing
How Do You Specify an Order and Vet a Printer?
Getting a true lay-flat result depends more on the questions you ask upfront than anything you can fix after the files are sent.
- Send exact specs. Finished trim size, paper type and weight, whether spreads are supplied as single pages or facing spreads, cover type, and board thickness all need to be locked before quoting.
- Ask which method they actually use. "Layflat-style" and true lay-flat are not interchangeable, and true lay-flat means zero image loss across the gutter while the style version can still show a curve.
- Ask about glue and curing. A printer using PUR should be able to explain curing time; if they can't describe their adhesive process, that's a gap worth noting.
- Request a physical sample. A trimmed physical sample is the only reliable way to confirm true lay-flat behavior, since a digital mockup can't prove zero-image-loss across a real spread.
- Check the spine and hinge under load. Open the sample flat and press gently near the spine. It should stay open on its own, without curling back or fighting your hand.
Pro Tip: If a vendor hesitates on sending a sample or only offers a rendered mockup, treat that as a red flag, not a formality. Genuine lay-flat shops are usually proud to show you a trimmed spread.
Mark's Pre-Press Checklist for Proofing Lay-Flat Files
A few habits catch most problems before they reach print. Export spreads exactly as they'll be bound, not as isolated single pages. Embed your color profiles so nothing shifts between your screen and the press. Zoom in on every center fold and check that nothing critical sits on that line.
Run your thumb across a trimmed sample near the spine. If it springs back or the pages fight you, that's not true lay-flat, no matter what the invoice says.
Munkterproducts leans on a sample-first approach for exactly this reason: a physical proof tells you more in ten seconds than a spec sheet does in ten minutes. Craft-focused vendors tend to build that step into the process rather than treating it as optional, which is a habit worth borrowing if you're briefing a printer for the first time. If you want to see how that hands-on scrutiny plays out in manual binding work, our creative bookbinding guide breaks down the same checks in more detail.
- Export spreads as they'll actually be bound, not as loose pages
- Embed color profiles before sending files
- Inspect every center fold for text or detail sitting on the hinge
- Request a trimmed sample and test it by hand
The Real Tradeoff Nobody Says Out Loud
Most guides treat lay-flat binding as a premium upgrade, full stop. That's incomplete. The real question isn't whether lay-flat is better, it's whether your project has enough gutter-crossing content to justify the milling, the curing time, and the added cost. A cookbook with recipes spanning two pages earns it. A text-heavy manual with occasional charts often doesn't.
The advice that gets skipped most often is the sample check. Buyers fixate on comparing PUR against sewn construction, when the bigger risk is ordering from a vendor who never proves their method works before you pay for a print run. Ask for the physical sample first, then argue about adhesive chemistry.
If you're briefing a printer for the first time, spend your energy on spine width and page count limits before you spend it on paper stock. Get the structural feasibility right, and the rest of the specification falls into place.
— Mark
Sources
- Lay-Flat Bindings: The What And How | No Starch Press
- Layflat Photo Book Binding vs Other Binding Types: Which Should You Choose? — Saal Digital
- Layflat Sewn Binding — Friesens
- Lay Flat Binding by Pressision
- Layflat Binding: A Guide to the Different Types — Sure Print & Design