
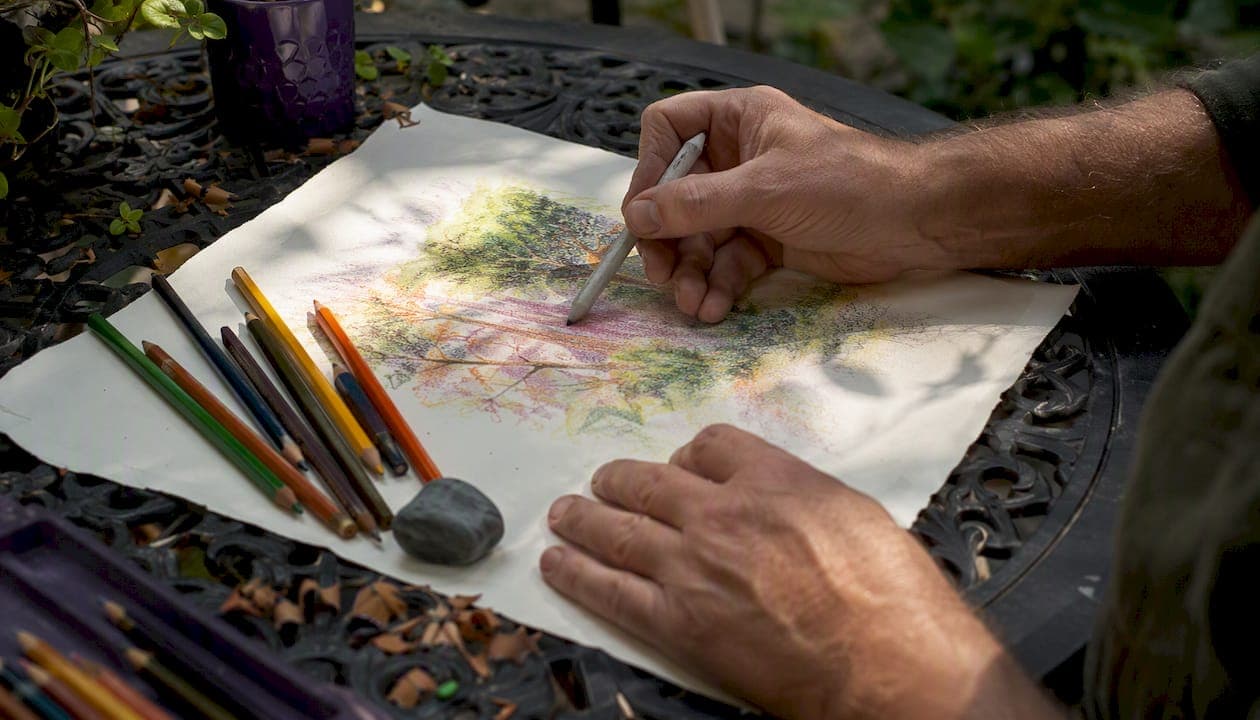
The most reliable colored pencil blending method is this: layer light to dark with overlapping strokes, knit the transition zone with a pale or colorless blender pencil, then burnish only as a final step if you want a glossy finish. That sequence works on most papers, with most pencil brands, and it gives you a repeatable result you can build on.
Three things to get right before anything else:
- Paper: choose a surface with some tooth (Bristol vellum, Canson Mi-Teintes, or Pastelmat) so early layers grip and stack without sliding
- Layering direction: rotate your stroke angle 45–90 degrees between passes to fill the paper tooth evenly rather than packing the same grooves repeatedly
- Finishing method: for a dry finish, use a colorless blender pencil or a pale version of your lightest color; for a faster, smoother result, Gamsol (odorless mineral spirits) or Zest-It work well with a small brush or cotton swab; if you have neither, a paper stump or tortillon is a solid fallback
Key Takeaways
Colored pencil blending works best when layering is treated as the primary technique, with dry blenders, solvents, and burnishing used selectively at the right stage.
| Point | Details |
|---|---|
| Layer light to dark first | Build several thin passes before introducing any blender tool or solvent. |
| Rotate stroke direction | Changing angle between layers fills paper tooth evenly and prevents muddy buildup. |
| Burnish last and sparingly | Burnishing seals the surface permanently; reserve it for final highlights and focal areas only. |
| Use solvents with ventilation | Gamsol or Zest-It in a ventilated space gives smooth results; let solvent areas dry fully before adding more layers. |
| Match paper to method | Smooth papers suit dry layering; sanded papers like Pastelmat need solvent or powder methods for best results. |
Table of Contents
- How do you blend colored pencils step by step?
- What dry blending methods work without any liquids?
- When should you use solvents for blending?
- What pencils and papers should you buy for blending?
- When should you blend, and how do you fix common problems?
- How do you adapt blending for fur, skin, metal, and glass?
- What do experts say about layering, burnishing, and practice?
- How do different pencil brands respond to blending?
- How does paper texture change your blending results?
- How do you preserve paper tooth while blending?
- How do you blend specific color combinations?
- Why layering first is the only approach worth starting with
- Sources
How do you blend colored pencils step by step?
A structured sequence prevents the two most common failures: muddy color and uneven coverage. Follow these eight steps and you will have a clean, smooth blend from the first session.
- Map the blend area. Lightly sketch the transition zone where two or three colors will meet. Pick a light, a mid, and a dark that sit adjacent on the color wheel. Complementary pairings without a bridge color tend to go gray in the overlap.
- Lay the lightest color first. Cover the full blend area with a light, even layer using minimal pressure. Small circular strokes (sometimes called scumbling) fill tooth more evenly than long straight lines, as Helen Carter's blending guide notes.
- Add the mid-tone, overlapping into the light. Extend the mid-tone color about a third of the way into the light zone. Change your stroke direction by roughly 45 degrees from the previous pass.
- Add the dark, overlapping into the mid. Same logic: push the dark color into the mid-tone zone, not all the way to the light. Rotate stroke direction again.
- Repeat passes with slightly more pressure. Build two or three more rounds, each time increasing pressure gradually. Deirdre Hock's 13-method overview confirms that several light layers outperform one heavy pass every time.
- Introduce the blender. Once coverage looks even and the tooth is about half-filled, work a colorless blender pencil or a pale version of your lightest color through the transition zone. A pale local-color pencil preserves saturation better than pure white.
- Optional solvent step. If you want a painterly, ultra-smooth result, apply a tiny amount of Gamsol or Zest-It with a brush, working in the transition zone only. Let it dry completely before judging the result — solvent-blended areas look darker and more even when wet, and adding dry layers too soon can lift pigment.
- Burnish last, if at all. Heavy pressure with a white or colorless pencil flattens the remaining tooth and locks in a glossy finish. Do this only in areas you are certain are finished.
Pro Tip: Place a clean scrap sheet under your drawing hand at all times. Skin oils transfer to paper and create invisible barriers that resist pigment. A clean under-sheet habit costs nothing and prevents smudges that are nearly impossible to fix.
What dry blending methods work without any liquids?
Dry methods are slower than solvents but give you more control and zero ventilation concerns. Here are six approaches worth knowing:
- Pencil-only layering: the foundation of everything. Small circular or directional strokes, multiple passes, rotating angle each time. Slow but precise, and it works on any paper.
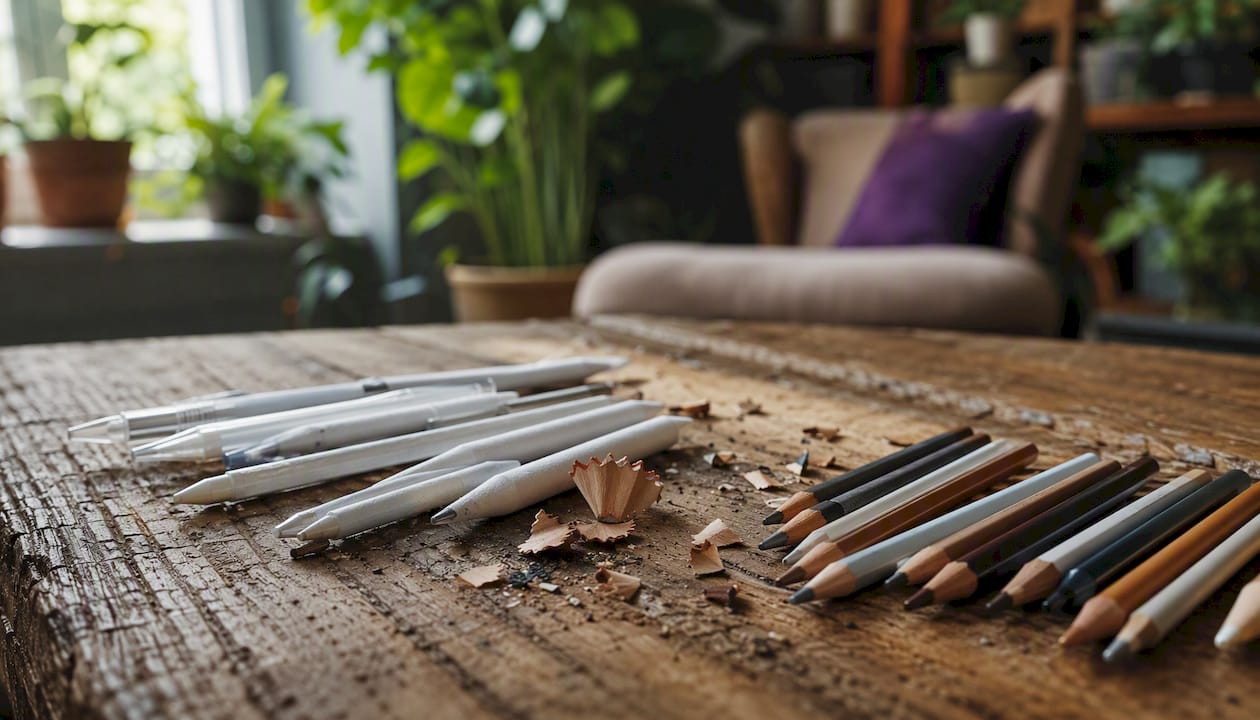
- Colorless blender pencil: a wax- or oil-based pencil with no pigment. It pushes existing pigment into the tooth without adding color. Prismacolor's colorless blender and Derwent's Blender/Burnisher pencil are the two most common options in the US market. Use it after at least three layers of pigment are down, or it will just drag color around without blending.
- Pale pigmented pencil: using a very light version of your local color (cream, pale yellow, pale peach) instead of a colorless blender. This adds a tiny amount of pigment while knitting layers, which often keeps the blend warmer and more saturated than a purely colorless tool.
- Burnishing: applying heavy pressure with a light or white pencil to physically flatten the paper tooth. The result is glossy and saturated, but burnishing seals the surface and makes further layering nearly impossible. Reserve it for focal points and final highlights only.
- Paper stumps and tortillons: useful on smoother papers where pigment sits near the surface. A stump smears and softens edges quickly. On textured papers, stumps tend to skip over the tooth rather than fill it.
- Sandpaper powder method: scrape a pencil tip across fine sandpaper to collect pigment powder, then apply it with a brush or stump. Works well on sanded papers and Pastelmat. Messy, but it can make colored pencil behave almost like soft pastel in large areas.
Different methods suit different finishes. Layering, burnishing, blender pencils, and solvent techniques each produce distinctive results — matte and textured versus glossy and saturated — so the right choice depends on the look you are after, not just convenience.
| Method | Best for | Compatible pencils | Finish | Speed |
|---|---|---|---|---|
| Pencil layering | Detail, control | All types | Matte, textured | Slow |
| Colorless blender pencil | Smooth transitions | Wax-based (Prismacolor) | Semi-matte | Moderate |
| Pale pigmented pencil | Warm, saturated blends | Wax and oil | Matte, rich | Moderate |
| Burnishing | Final gloss, focal areas | Wax-based primarily | Glossy, sealed | Fast finish |
| Paper stump | Soft edges, smooth paper | All types | Soft matte | Fast |
| Sandpaper powder | Large areas, sanded paper | All types | Painterly | Variable |
When should you use solvents for blending?
Solvents are the fastest route to a smooth, painterly result. They dissolve the pencil's binder, which lets pigment flow and merge in a way that dry methods cannot match. The tradeoff is safety and paper sensitivity.
Primary options:
- Gamsol (odorless mineral spirits / OMS): the most widely used solvent for colored pencil work in the US. Low odor, widely available at art supply stores, and effective with both wax- and oil-based pencils. Use a small, stiff brush or a cotton swab.
- Zest-It: a citrus-based alternative that is gentler on paper and has a milder smell. Slightly slower to evaporate than Gamsol but easier to control for beginners.
- Rubbing alcohol (isopropyl): cheaper and easier to find, but it can strip pigment aggressively and tends to dry paper out. Works in a pinch on smooth Bristol; less predictable on textured surfaces.
Solvents dissolve the pencil binder and allow pigment to move, producing very smooth blends. They require ventilation and a light touch — too much solvent on thin paper causes darkening, buckling, or pigment loss. Always work in a ventilated space and apply sparingly with a small brush rather than flooding the surface. Odorless mineral spirits and citrus-based solvents are the two most reliable choices for most hobbyists.
You need a solid base of pigment before solvents do anything useful. Two or three full layers minimum. If the paper tooth is mostly empty, the solvent just spreads a thin wash with no blending effect.
Safety basics: work near an open window or under a ventilation fan. Wear nitrile gloves if you are using Gamsol regularly. Keep the workspace small and the solvent container capped when not in use. Avoid skin contact, especially with OMS.
If the paper darkens or puddles: stop immediately, let it dry fully (at least 10–15 minutes), then assess. Add dry pencil layers over the dried area to rebuild coverage. Trying to fix a wet solvent area by adding more solvent almost always makes it worse.
Pro Tip: Load your brush with less solvent than you think you need. A nearly dry brush gives you far more control than a wet one, and you can always add more.
What pencils and papers should you buy for blending?
Getting the materials right matters more than technique for most beginners. Here is what to look for.
Pencil families:
- Prismacolor Premier (wax-based): soft, highly pigmented, and easy to blend dry. The Prismacolor colorless blender is a natural companion. Best for hobbyists and adult coloring books. Wax bloom is a real risk with heavy use.
- Faber-Castell Polychromos (oil-based): harder core, more lightfast, and less prone to wax bloom. Blends well with solvents and holds detail longer. A favorite for realistic work.
- Derwent Lightfast (oil-based): excellent lightfastness ratings, smooth laydown, and compatible with Derwent's Blender/Burnisher pencil. Slightly firmer than Prismacolor.
- Caran d'Ache Pablo and Luminance (oil-based): Swiss-made, very lightfast, and the Luminance range in particular blends beautifully with both dry and solvent methods. The Caran d'Ache colorless blender works across both lines.
- Lyra Rembrandt Polycolor (oil-based): underrated for the price. Firm, consistent, and blends cleanly with solvents. Good entry point if you want oil-based performance without the Polychromos price.
For Prismacolor-specific handling, always clean lighter pencil tips on scrap paper before returning to highlights — the soft wax core picks up darker pigment easily and will muddy a pale area fast.
Papers:
| Paper | Tooth level | Best technique | Expected finish |
|---|---|---|---|
| Bristol vellum | Low-medium | Dry layering, burnishing | Smooth, slight gloss |
| Canson Mi-Teintes | Medium | Layering, blender pencil | Textured, matte |
| Pastelmat | High (sanded) | Powder, solvent, heavy layering | Rich, painterly |
| Clairefontaine Pastel | Medium-high | Layering, stump blending | Soft matte |
| Stonehenge | Low-medium | Dry layering, solvent | Even, semi-smooth |
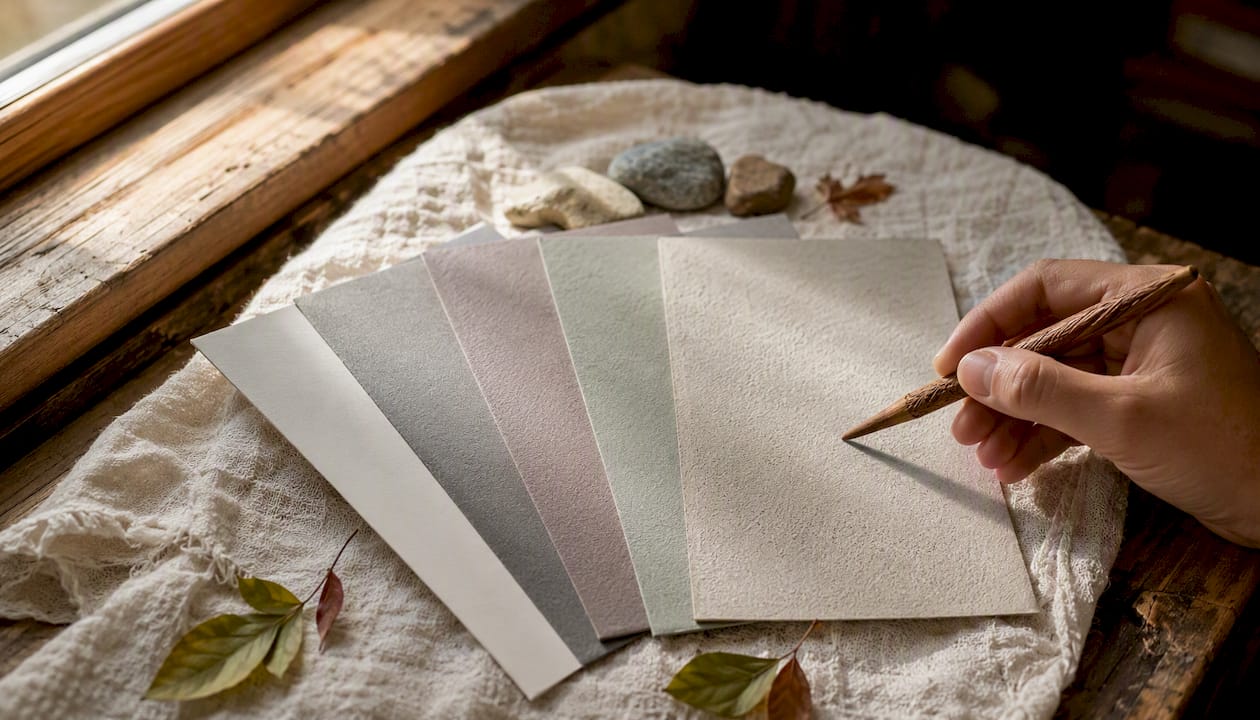
Paper choice strongly affects blending outcomes: smoother papers allow easier even gradients, while sanded surfaces like Pastelmat need different filling strategies and sometimes powder or solvent pretreatment. For a broader look at paper types and their properties, this paper comparison for artists covers surface characteristics in useful detail.
Other tools: a good electric or helical sharpener keeps pencil tips sharp enough for detail work between blending passes. A kneaded eraser lifts pigment without abrading paper. Blending stumps in two or three sizes cover most needs. For stationery and tool organization, must-have accessories for artists includes practical buying guidance.
When should you blend, and how do you fix common problems?
Knowing when to stop is as important as knowing how to start.
Signs you have enough pigment down: the paper tooth looks about half to two-thirds filled when you hold the drawing at an angle to the light. Color coverage looks even without obvious white gaps. The surface has a slight sheen from the wax or oil binder.
Common problems and fixes:
- Wax bloom: a milky, hazy sheen that appears hours or days after heavy wax-pencil use. Wax bloom is caused by the wax binder migrating to the surface and can be reduced by using lighter layers and reserving burnishing for specific focal points. To remove it temporarily, gently buff with a soft cloth. Applying a fixative spray after finishing helps prevent recurrence.
- Muddy colors: usually caused by layering complementary colors directly without a bridge. Fix it by choosing colors that sit adjacent on the color wheel and introducing a neutral bridge in the overlap zone. Avoid layering complementary hues without a buffer — a warm tan or pale gray between red and green, for instance, keeps the transition clean.
- Paper pilling or tearing: too much pressure too early, or a paper that is too thin. Drop pressure immediately. If the surface is already damaged, a light application of solvent can sometimes re-adhere loose fibers, but the safest fix is to switch to a heavier paper next time.
- Over-blending: the blend looks flat and lifeless. Add a few sharp, directional strokes of the darker color back into the transition zone to restore depth.
Pro Tip: Preserve hard edges by masking them with low-tack tape or a piece of scrap paper before blending. Solvent and heavy burnishing both spread pigment beyond where you intend, and a physical barrier is far more reliable than trying to blend carefully up to a line.
How do you adapt blending for fur, skin, metal, and glass?
The base workflow stays the same. What changes is stroke direction, pressure timing, and where you place your sharpest details.
Fur and hair:
- Use short, directional strokes that follow the growth direction of the hair
- Layer selectively: blend the shadow areas smoothly, but leave individual strokes visible in the mid-tones for texture
- Burnish only the brightest highlight strands; leave the rest with some tooth so the fur reads as separate fibers rather than a smooth smear
- Practice exercise: draw a 2-inch square of short fur in two colors, blend the shadow base smoothly, then add individual hair strokes on top with a sharp pencil
Skin and portraits:
- Skin transitions are subtle. Use many thin layers rather than a few heavy ones, and introduce bridge colors (a warm peach between a tan and a pink, for example) to avoid ashy or gray transitions
- Avoid pure white as a blender on skin — it cools the tone and creates an unnatural pallor. A pale version of the local skin color works better
- Practice exercise: blend a small oval from a warm shadow tone to a highlight using three colors and no solvent, then compare it to the same exercise with a tiny amount of Gamsol
Metal and glass:
- These surfaces depend on contrast, not smooth gradients. Blend the mid-tone areas smoothly with solvent or heavy layering, but preserve the brightest highlights by leaving the paper white or barely touched
- Heavy burnishing in the lightest areas creates the gloss that reads as metal or glass
- Practice exercise: draw a simple sphere with a strong light source. Blend the shadow side with solvent, burnish the highlight area, and leave a sharp reflected light at the bottom edge untouched
What do experts say about layering, burnishing, and practice?
The consensus among experienced colored pencil artists is that blending is not a separate step you add at the end. It is the cumulative result of how you layer from the beginning. Thinking of it as a finishing move leads to under-layered work that no blender pencil or solvent can rescue.
Burnishing is a final-stage technique: heavy pressure with a light or colorless pencil flattens the paper tooth, producing a glossy, saturated finish. The tradeoff is that it seals the surface permanently and makes further layering impossible. Use it only in areas you are certain are complete.
That irreversibility is worth taking seriously. Many hobbyists burnish too early because the glossy result looks impressive in the moment, then find they cannot add the darker shadow or the fine detail they need. Burnish the focal point last, not first.
A four-week practice plan:
- Week 1: Layering only. Draw three value scales (light to dark) in a single color using pencil-only layering. Focus on even coverage and stroke direction changes.
- Week 2: Add a colorless blender pencil. Repeat the value scales and introduce the blender after three layers. Compare the result to Week 1.
- Week 3: Try solvent blending on Bristol vellum. Use Gamsol or Zest-It on a simple two-color gradient. Practice the "nearly dry brush" approach.
- Week 4: Combine methods. Do a small subject (a piece of fruit, a simple eye) using layering as the base, solvent in the shadow transitions, and burnishing only on the brightest highlight.
Applying several light layers before attempting any blending is the single habit that separates clean results from muddy ones. Keep pencils sharp between passes and always test new color combinations on a scrap before committing to the drawing.
Safety reminder: always use solvents in a ventilated space, keep containers sealed when not in use, and wear nitrile gloves for extended sessions.
How do different pencil brands respond to blending?
Wax-based and oil-based pencils behave differently under the same technique, and knowing which you are working with changes your approach.
Wax-based pencils (Prismacolor Premier) have a soft, creamy core that blends easily with dry methods and responds well to a colorless blender pencil. The softness is an advantage for smooth gradients but a liability for fine detail — tips wear fast and the wax binder can migrate to the surface as bloom. They are the most forgiving choice for adult coloring books and beginner blending practice.
Oil-based pencils (Polychromos, Derwent Lightfast, Caran d'Ache Pablo and Luminance, Lyra Rembrandt) hold a sharper point longer, resist bloom, and layer more cleanly over each other without the colors muddying. They respond particularly well to solvent blending. The tradeoff is that dry blending with a colorless pencil takes more passes to achieve the same smoothness as a wax pencil.
Water-soluble pencils (Derwent Watercolour, Caran d'Ache Museum Aquarelle) behave like standard colored pencils until water is introduced, at which point the pigment flows like watercolor. This is a different workflow from OMS or alcohol blending and suits loose, painterly results rather than tight realistic rendering. Keep them separate from your dry-blending set to avoid accidental activation.
Mixing wax and oil pencils in the same drawing is common and generally works well. Layer the oil-based pencil first for detail and structure, then use the wax-based pencil on top for smooth blending passes. Avoid the reverse — wax on top of oil tends to sit on the surface rather than bonding.
How does paper texture change your blending results?
Paper texture is the variable most hobbyists underestimate. The same pencil and the same technique produce noticeably different results on different surfaces.
Smooth papers (Bristol smooth, hot-press watercolor paper) have almost no tooth. Pigment sits on the surface and blends easily with minimal pressure, but the surface fills quickly and offers little room for additional layers. Burnishing on smooth paper produces an almost plastic-looking gloss. Good for tight, detailed work; less forgiving for large gradient areas.
Medium-tooth papers (Bristol vellum, Canson Mi-Teintes, Stonehenge) are the most versatile for colored pencil blending. They accept multiple layers, respond well to both dry and solvent methods, and leave enough tooth after blending for additional detail work. Most beginner adult coloring projects work best here.
Textured and sanded papers (Pastelmat, UArt sanded paper, Clairefontaine Pastelmat) have deep tooth that holds large amounts of pigment. They require more layers to fill and do not blend smoothly with a dry blender pencil alone. Solvent or powder methods work much better on these surfaces. The payoff is a rich, painterly result with exceptional depth. Paper choice and surface preparation significantly affect how pigment behaves across all these categories.
The practical rule: match your paper to your method before you start. Switching paper mid-project because the blending is not working is almost always the right diagnosis.
How do you preserve paper tooth while blending?
Paper tooth is a finite resource. Once it is filled or physically flattened, you cannot restore it. Every blending decision is also a decision about how much tooth to spend.
The most effective preservation strategy is pressure management. Use the lightest possible pressure for the first two or three layers, building pigment gradually rather than packing the tooth in one pass. This leaves room for four, five, or even six layers before the surface becomes unworkable.
Stroke direction matters here too. Varying the angle between passes distributes pigment across the tooth peaks and valleys more evenly, which means you fill the surface more efficiently and need fewer total passes to achieve coverage. Repeating the same stroke direction packs one set of grooves while leaving others empty, which forces you to press harder to compensate.
Avoid using a colorless blender pencil too early. It pushes pigment into the tooth aggressively and can fill it faster than additional color layers would. Save the blender for the transition zone after the base layers are established.
Solvents, used correctly, actually preserve tooth better than heavy dry burnishing. A light solvent application moves pigment without physically compressing the paper fibers. Burnishing does compress them, which is why it is irreversible. If preserving the ability to rework an area matters, solvent is the safer choice.
How do you blend specific color combinations?
Color relationships determine whether a blend looks natural or muddy, regardless of technique.
Analogous colors (colors adjacent on the wheel, like blue and green, or orange and yellow) blend almost effortlessly. The overlap zone naturally produces the intermediate hue, and no bridge color is needed. These are the easiest combinations to practice on and a good starting point for beginners.
Complementary colors (opposites on the wheel, like red and green, or blue and orange) are the hardest to blend cleanly. Layered directly, they produce a gray-brown in the overlap zone. The fix is a bridge color: a warm tan between red and green, a muted gold between blue and orange. Introduce the bridge in the overlap zone before the two main colors meet, and the transition stays clean.
Skin tones require the most nuance. Real skin contains warm and cool tones simultaneously, and blending them poorly produces either a flat, chalky result or an unnatural gray. Use a warm shadow tone (burnt sienna, terra cotta, or a warm brown), a mid-tone peach or tan, and a highlight that leans slightly warm rather than pure white. A pale yellow or cream works better than white for the lightest skin highlights. Layer thin and build slowly — skin blends are the area where patience pays off most visibly.
For color combinations in practice, adult coloring books with complex gradient pages are excellent training material. Munkterproducts carries a range of artistic adult coloring books with detailed designs that give you plenty of gradient areas to practice on.
Why layering first is the only approach worth starting with
The instinct most people have when they pick up colored pencils is to press hard and blend immediately. It feels productive. The result is almost always a muddy, over-worked surface with no room left to add depth.
Layering first changes the whole dynamic. When you build pigment gradually, you stay in control of the blend at every stage. You can stop early for a textured result, add a blender pencil for a smoother one, or reach for solvent only when the dry methods have taken the blend as far as they can. That sequence, light to dark, dry before wet, burnish last, is not a rule imposed by technique guides. It is just what works.
Solvents are worth learning, but they are a tool for specific situations, not a shortcut. A drawing with a strong layered foundation blends beautifully with a tiny amount of Gamsol. A drawing with two thin layers and no structure blends into nothing.
One practical habit that makes a real difference: keep a scrap sheet of the same paper next to every drawing and test every color combination and pressure level there before touching the actual work. It sounds obvious. Most people skip it until they ruin something they cared about.
Pick one method, practice it until the result is predictable, then add the next. Trying to combine layering, solvent blending, and burnishing in the same session before any of them are reliable is the fastest route to frustration.
Sources
- What is burnishing colored pencils?
- Blending - Coloured Pencil know-how
- How to blend with coloured pencils | Pencil blenders, powders and solvents - STEP BY STEP ART
- Super Tips for Blending Colored Pencils | PRISMACOLOR
- 13 Methods to Blend Colored Pencils
- How to blend colored pencils